Add an IDIAL Container
This guide describes how to register a new IDIAL container in IDIAL-APP. The process walks you through a four-step wizard: entering connection details, establishing TLS trust, checking compatibility, and activating a license.
Prerequisites:
- You are logged in with an account that has the Administrator or IDIAL Administrator role
- The IDIAL container is running and reachable over the network
- You have the container's API key (configured when the container is set up, described in the container documentation)
- For a secure TLS connection: a valid TLS certificate for the container as a PKCS12 file (
.p12/.pfx) and its password
Open the Wizard
Navigate to Container in the left navigation. On a freshly initialized installation, the list is still empty.
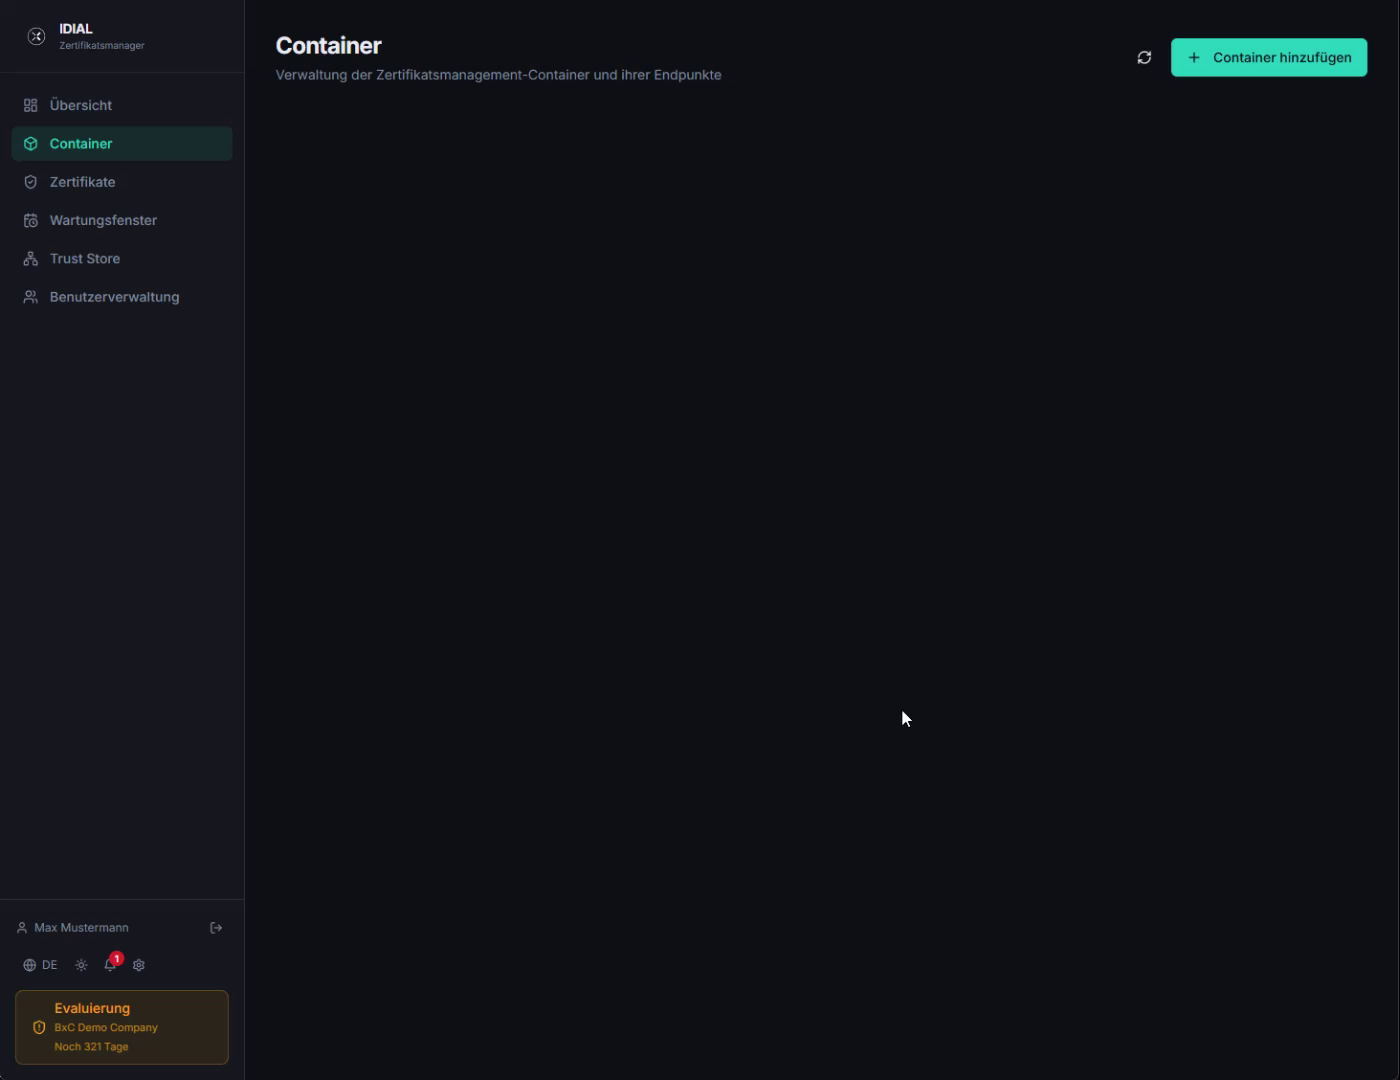
Click + Add Container in the top-right corner. The wizard opens and guides you through all required steps.
Step 1 — Connection
In this step, you enter the connection details of the IDIAL container. The progress bar at the top of the dialog shows which step you are currently on.
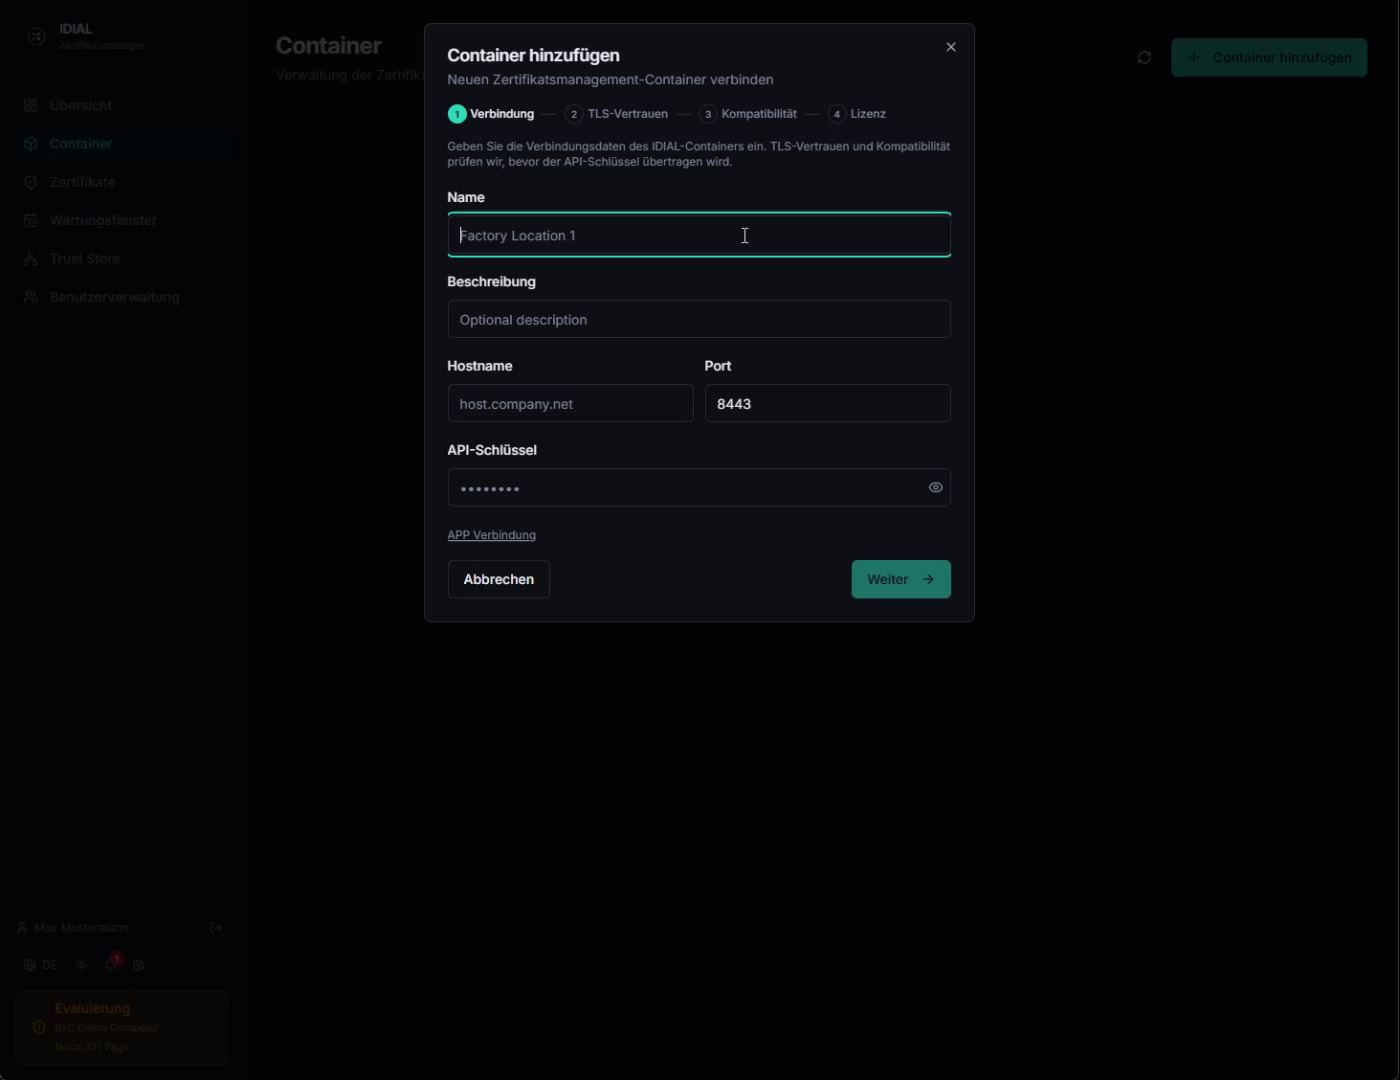
Fill in the following fields:
| Field | Description |
|---|---|
| Name | Display name for the container in IDIAL-APP — choose a name that uniquely identifies the container (e.g. location or function) |
| Description | Optional free-text description of the container |
| Hostname | DNS name or IP address of the IDIAL container — must be reachable from the IDIAL-APP server |
| Port | Port the IDIAL container is listening on (commonly 443 or 8443) |
| API Key | The API key of the IDIAL container — set when the container is configured, described in the container documentation |
APP Connection (optional)
Below the required fields is the expandable APP Connection section. Here you enter the hostname and port under which the IDIAL container can reach IDIAL-APP.
| Field | Description |
|---|---|
| APP Hostname / IP | Hostname or IP address of IDIAL-APP as seen from the container |
| APP Port | Port of IDIAL-APP (default: 443) |
The APP connection is needed when the IDIAL container should actively contact IDIAL-APP — for example to download CRL lists (certificate revocation lists) or report errors. The hostname entered here must be reachable from the IDIAL container.
If you do not need this functionality, you can leave this section empty.
Click Next to proceed to the next step.
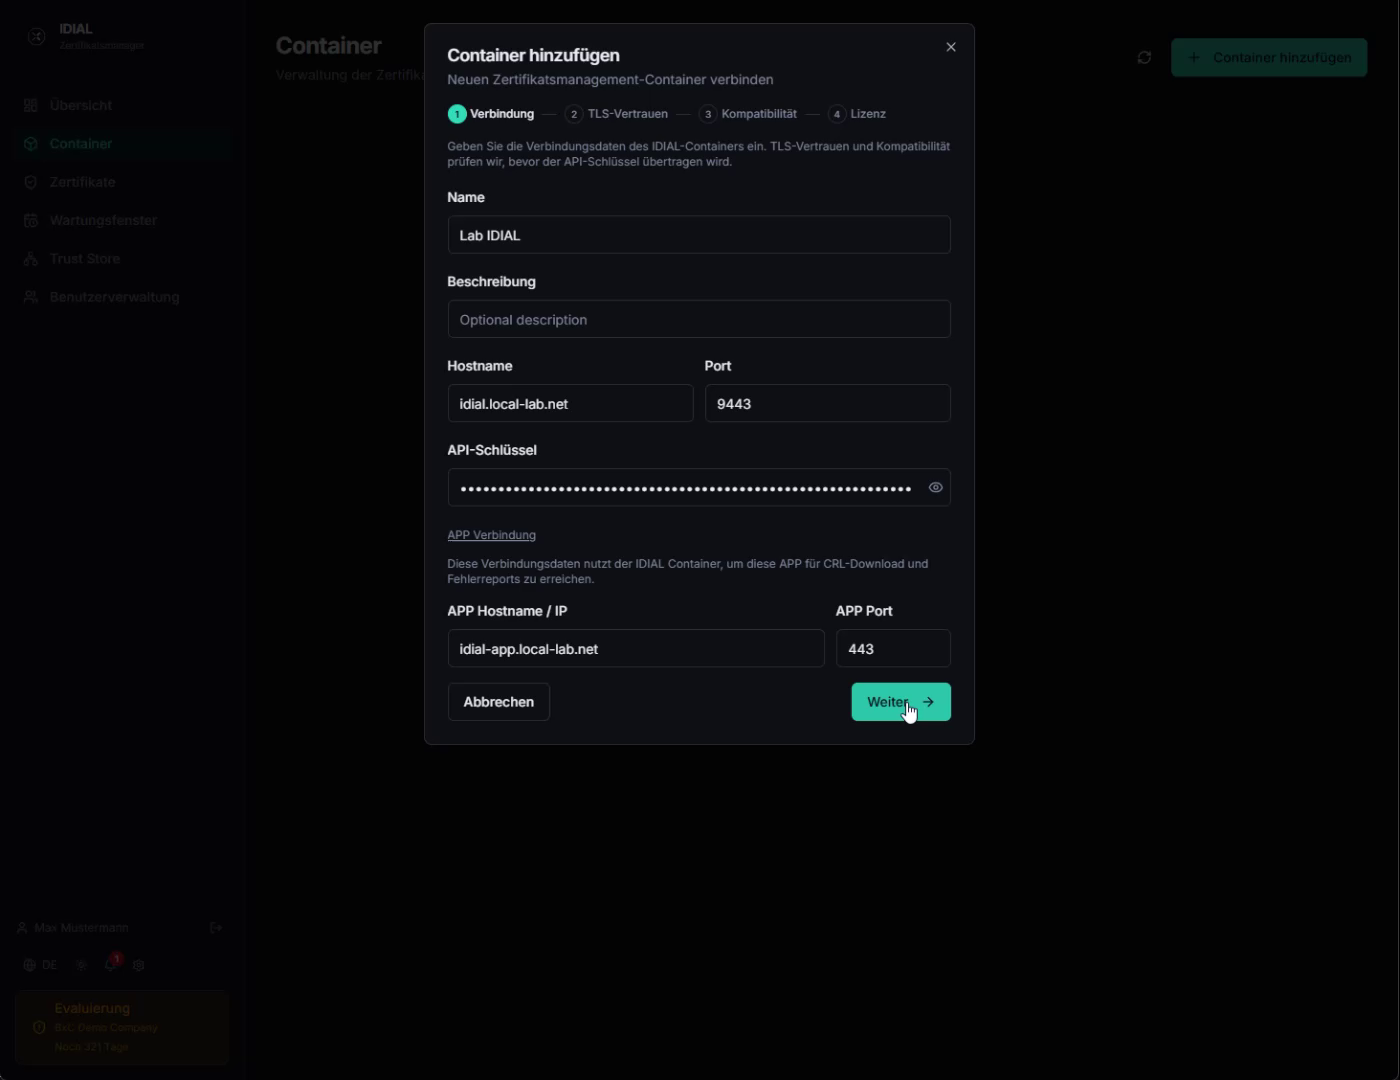
Step 2 — TLS Trust
In this step, you establish a trusted TLS connection to the IDIAL container. IDIAL-APP now connects to the container for the first time and reads its current TLS certificate.
Self-Signed Certificate
Out of the box, every IDIAL container presents a self-signed certificate that is automatically generated when the container starts for the first time.
IDIAL-APP displays the certificate with all details — subject, issuer, validity period, subject alternative names, and the SHA-256 fingerprint. You can use the fingerprint to manually verify that this is indeed the certificate from your container.
The page offers three options:
- Upload Trusted Certificate — recommended: upload a PKCS12 certificate issued by your PKI
- Re-check Certificate — reconnect to the container and re-read the certificate
- Accept Anyway (insecure) — accept and pin the self-signed certificate
The Accept Anyway option should only be used in exceptional cases, for example when a PKI certificate is temporarily unavailable. In this case, the self-signed certificate is pinned — IDIAL-APP will verify that exactly this certificate is presented on every connection. However, you have no assurance of the container's identity and are establishing a potentially insecure TLS connection.
Upload a Trusted Certificate
Click Upload Trusted Certificate and fill in the displayed fields:
- Select your
.p12or.pfxfile in the PKCS12 File field - Enter the file password in the PKCS12 Password field
- Click Verify — IDIAL-APP analyzes the certificate and displays the validation result
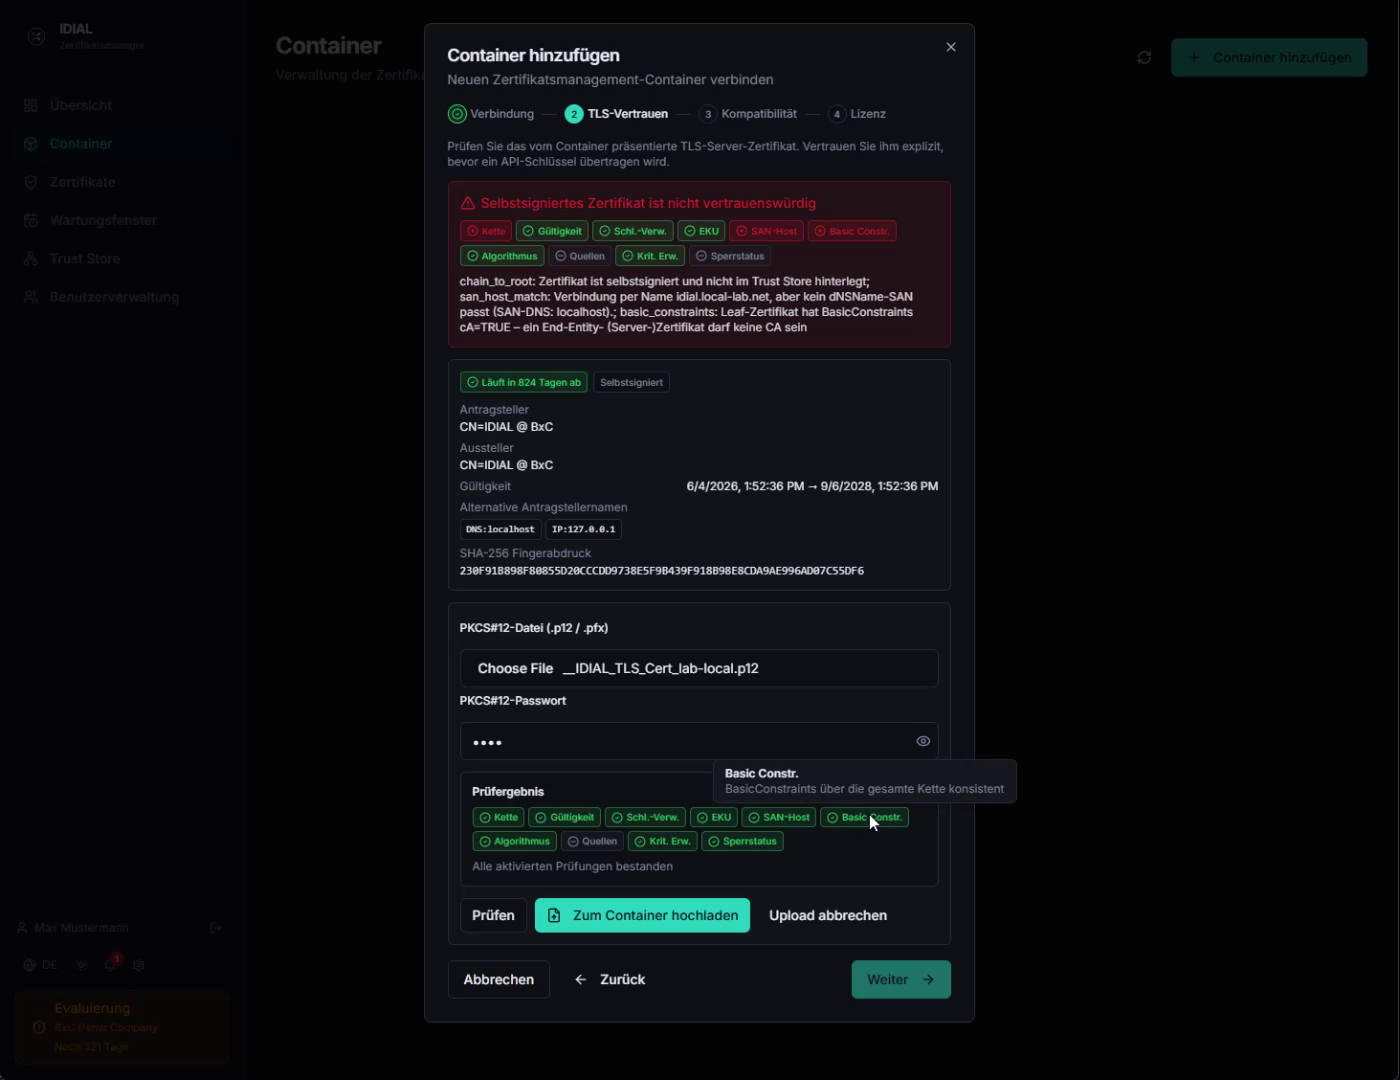
Once all checks pass — especially the SAN-Host check, which ensures the configured hostname is included in the certificate — click Upload to Container. The certificate is transferred to the container and activated there.
After the upload, IDIAL-APP establishes a new TLS connection and displays the result:
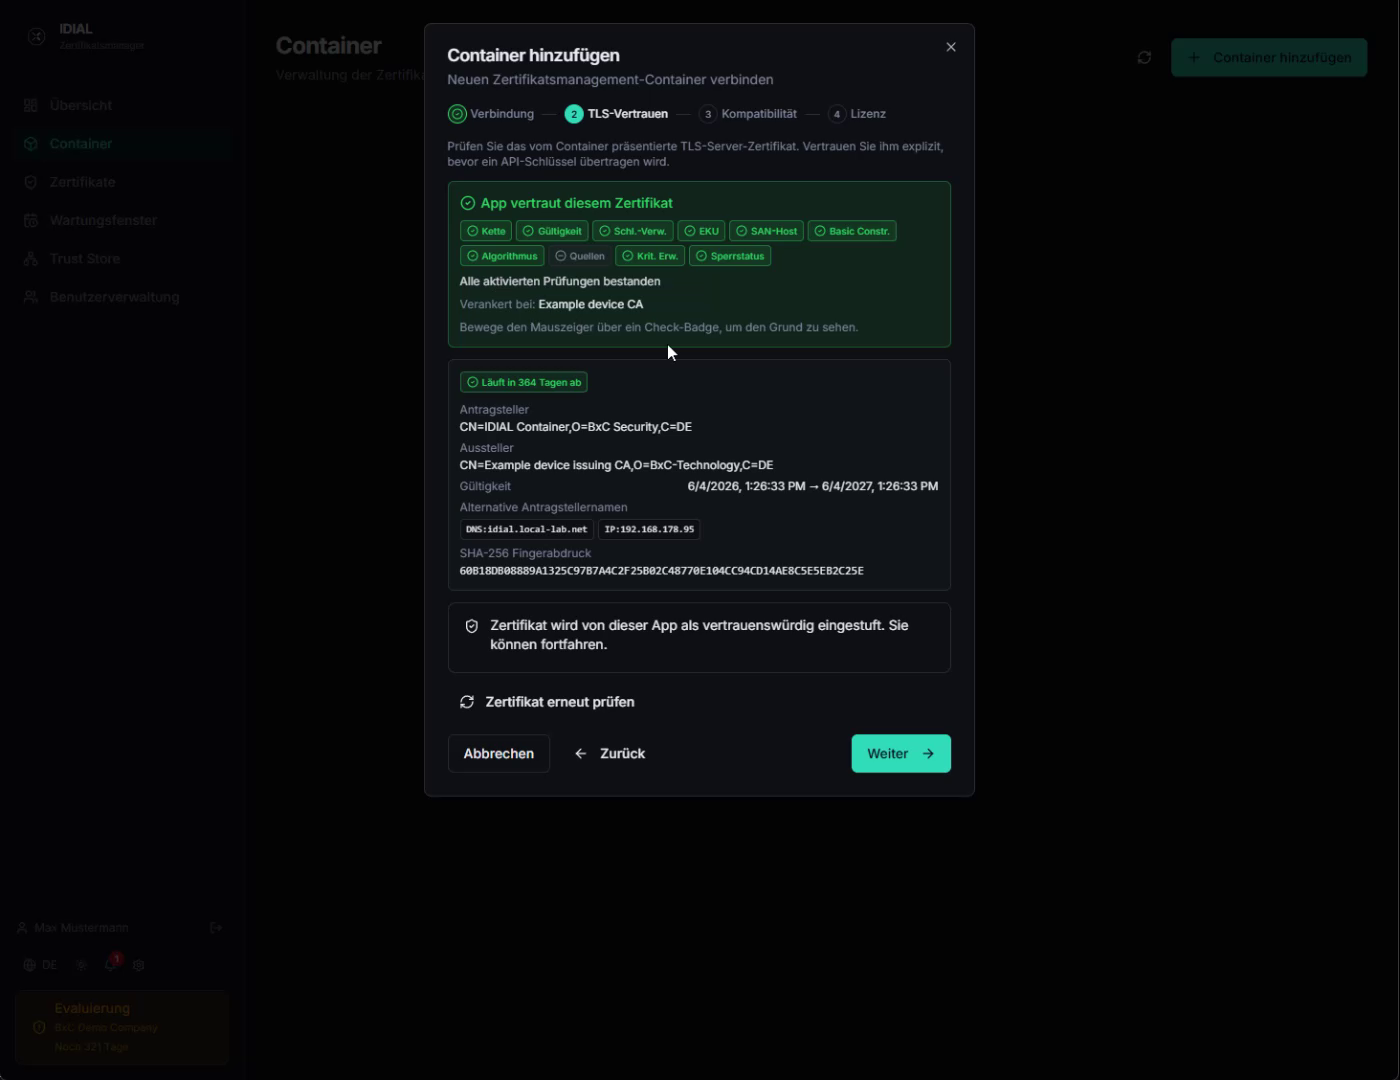
The message App trusts this certificate and all green badges confirm that the connection is now trusted. Click Next.
The certificate must be issued by a CA that is stored in the IDIAL-APP Trust Store. Otherwise the trust check will fail. Make sure the issuing CA chain has been loaded into the Trust Store beforehand (see the Initialization guide, Step 5).
Step 3 — Compatibility
IDIAL-APP automatically checks whether the IDIAL container version is compatible with IDIAL-APP.
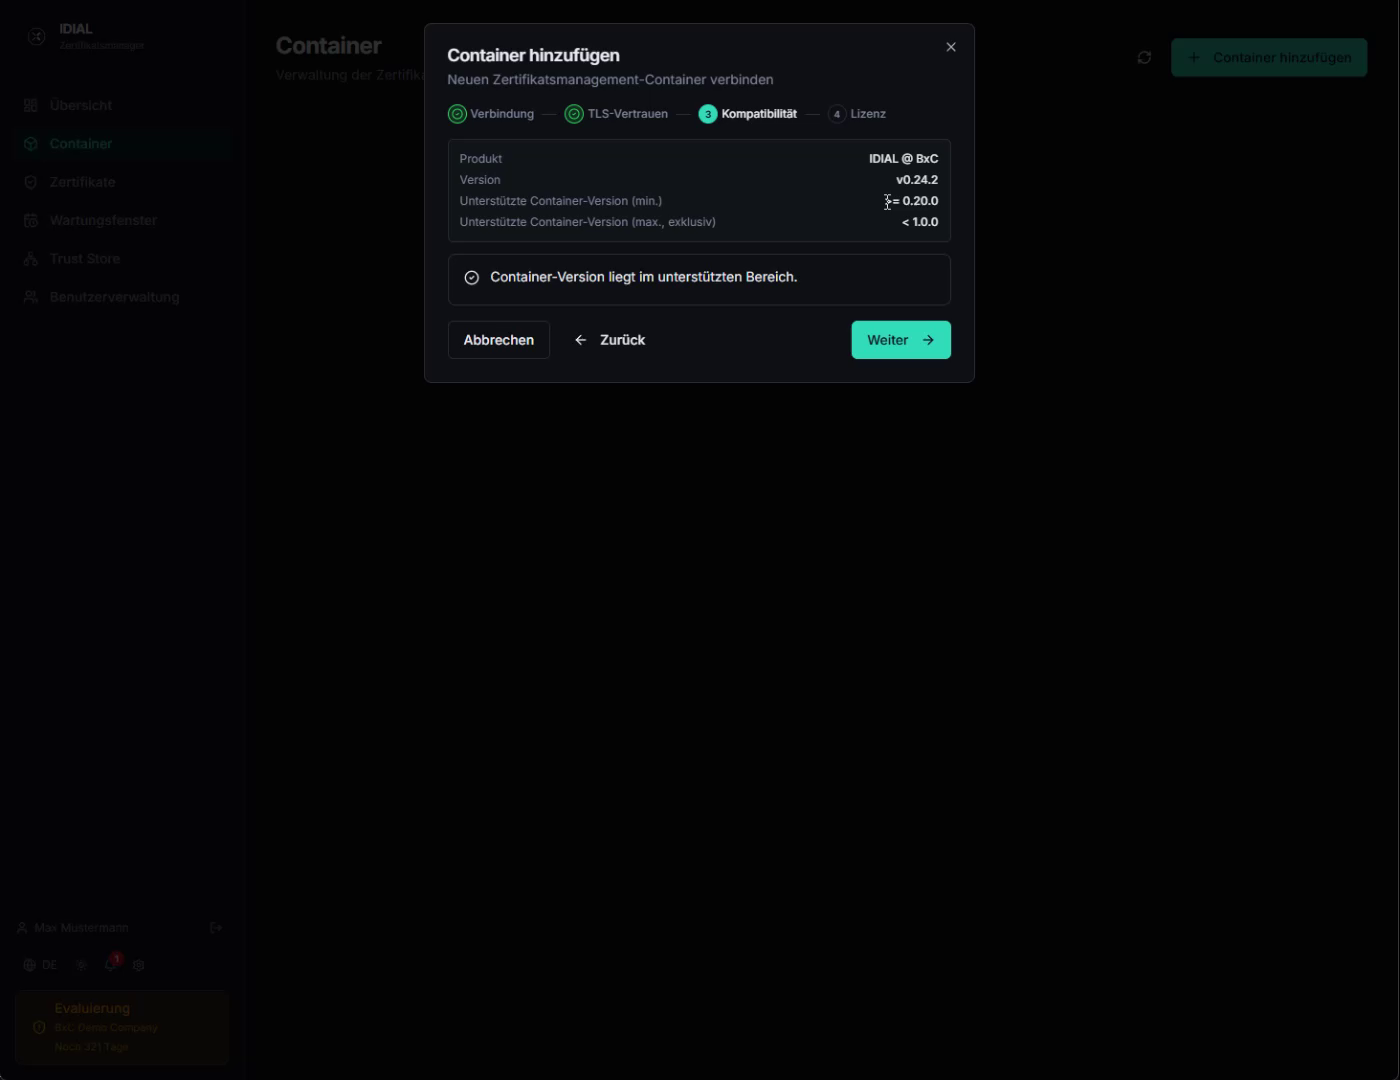
The view shows the product, the detected container version, and the supported version range. If the message Container version is within the supported range appears, the container is compatible. Click Next.
If the container version is outside the supported range, it cannot be added. In that case, update the IDIAL container to a supported version.
Step 4 — License
In the final step, IDIAL-APP checks whether the container already has a valid license.
Container Has No License
If the container does not yet have a license, the message Container has no valid license is shown.
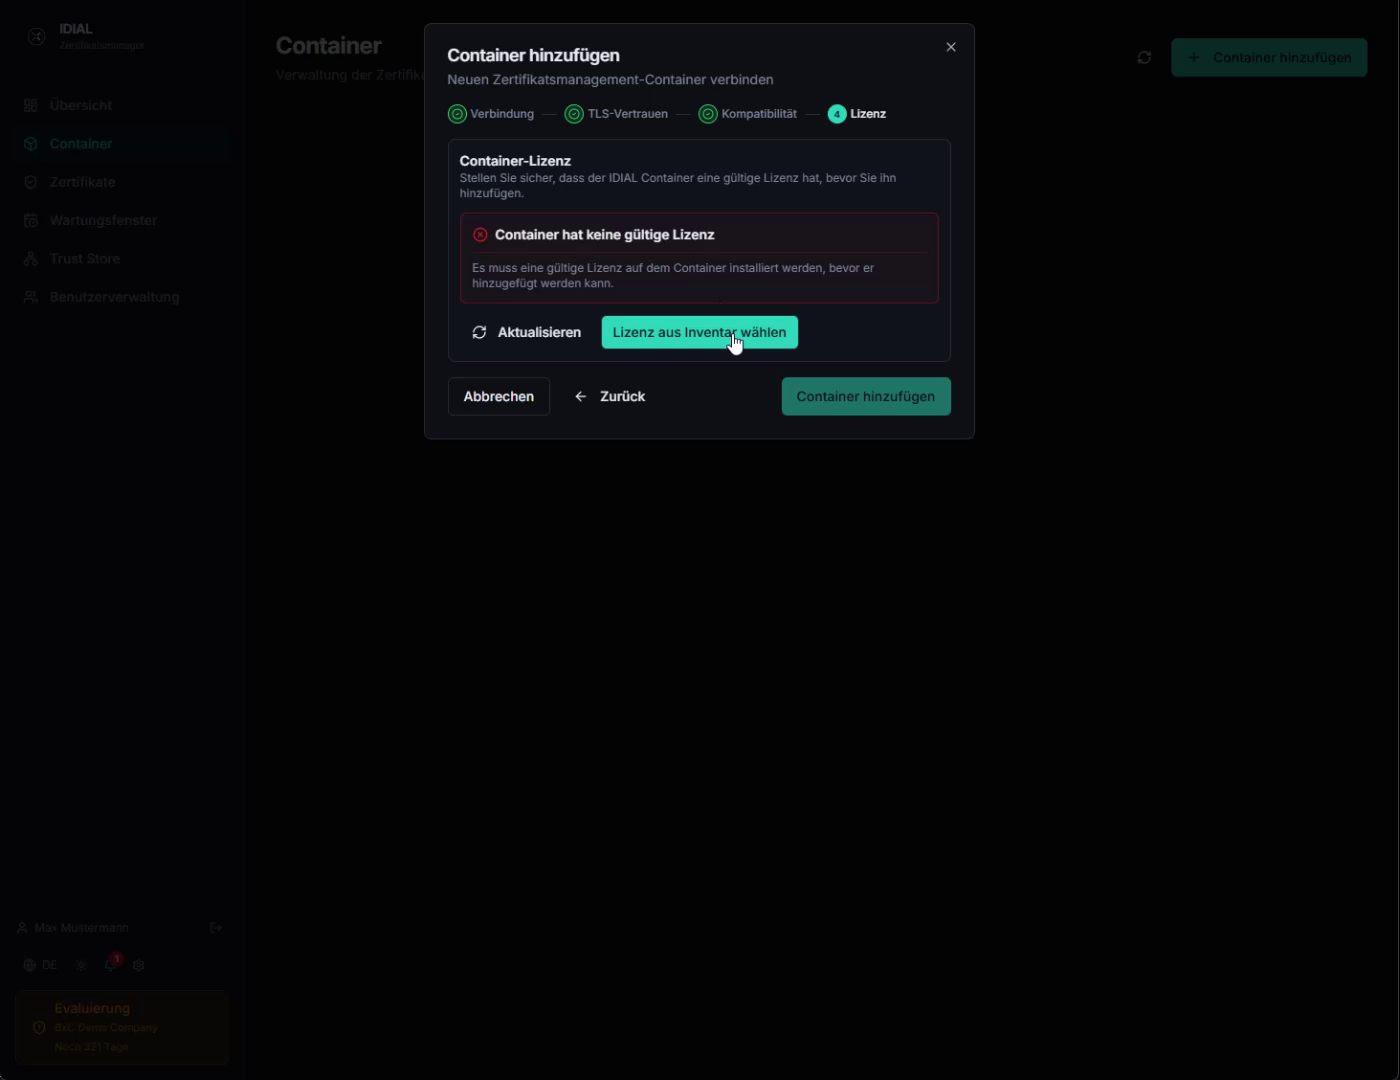
Click Select License from Inventory to choose one of the licenses stored in IDIAL-APP. After selecting a license, it appears with the status Not yet saved.
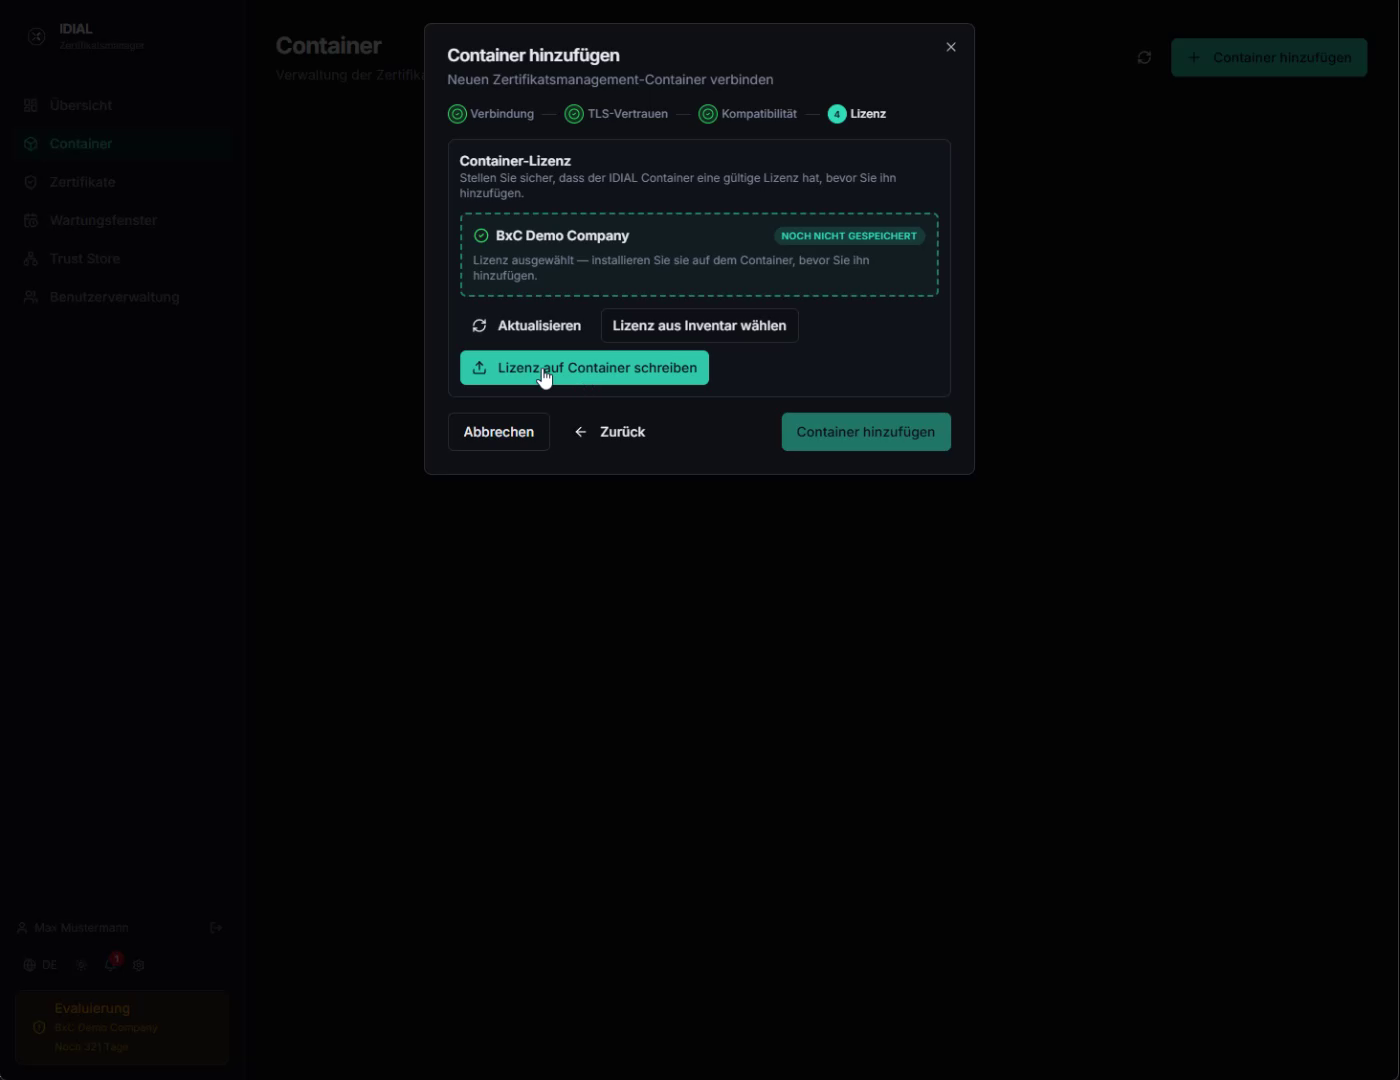
Click Write License to Container. The license is transferred to the container, validated there, and the status is updated.
License Is Valid
Once the license has been successfully activated — or if the container was already provisioned with a license beforehand — the message Container license is valid appears, showing the company name, number of licensed endpoints, and expiry date.
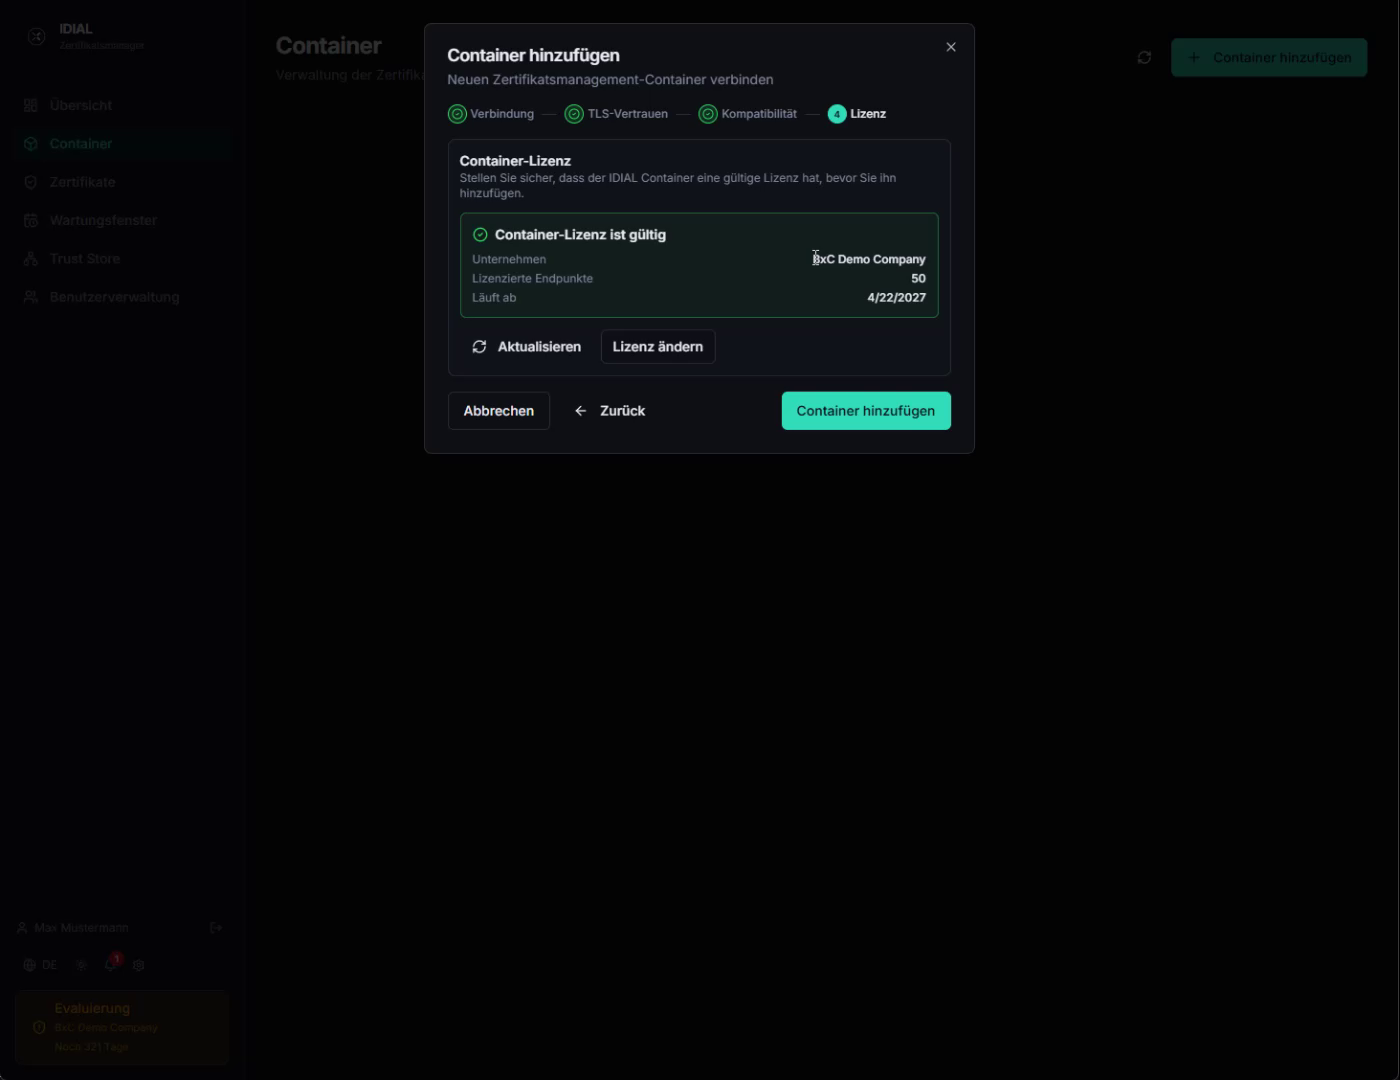
Click Add Container to register the container in IDIAL-APP.
Container Successfully Added
The container now appears in the container list with the status Online and the Secure TLS badge, confirming that the connection is secured with a trusted certificate.
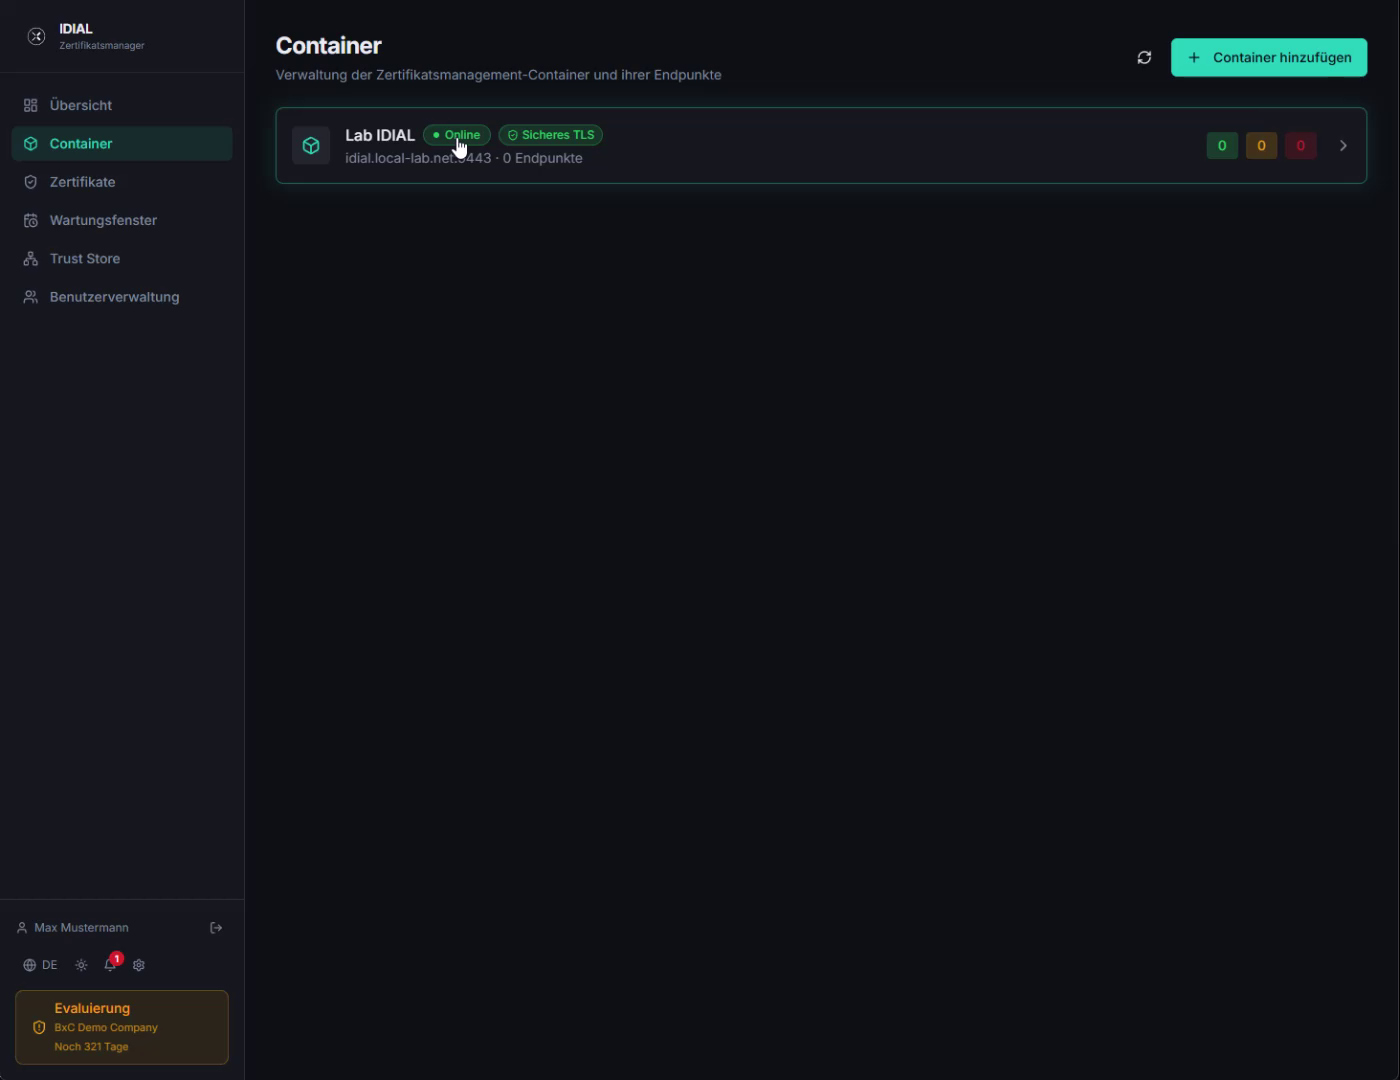
A newly added container does not yet have any endpoints configured. Endpoint configuration and setting up PKI systems are described in the follow-up guides.