Siemens S7-1500 – GDS Push Setup Guide
This guide describes how to configure GDS Push on a Siemens S7-1500 PLC using TIA Portal.
The GDS Push functionality enables centralized and automated certificate management for OPC UA communication. Instead of manually deploying certificates to each device, a Global Discovery Server (GDS) can securely distribute and update certificates across all connected systems.
1. Activate the OPC UA Server
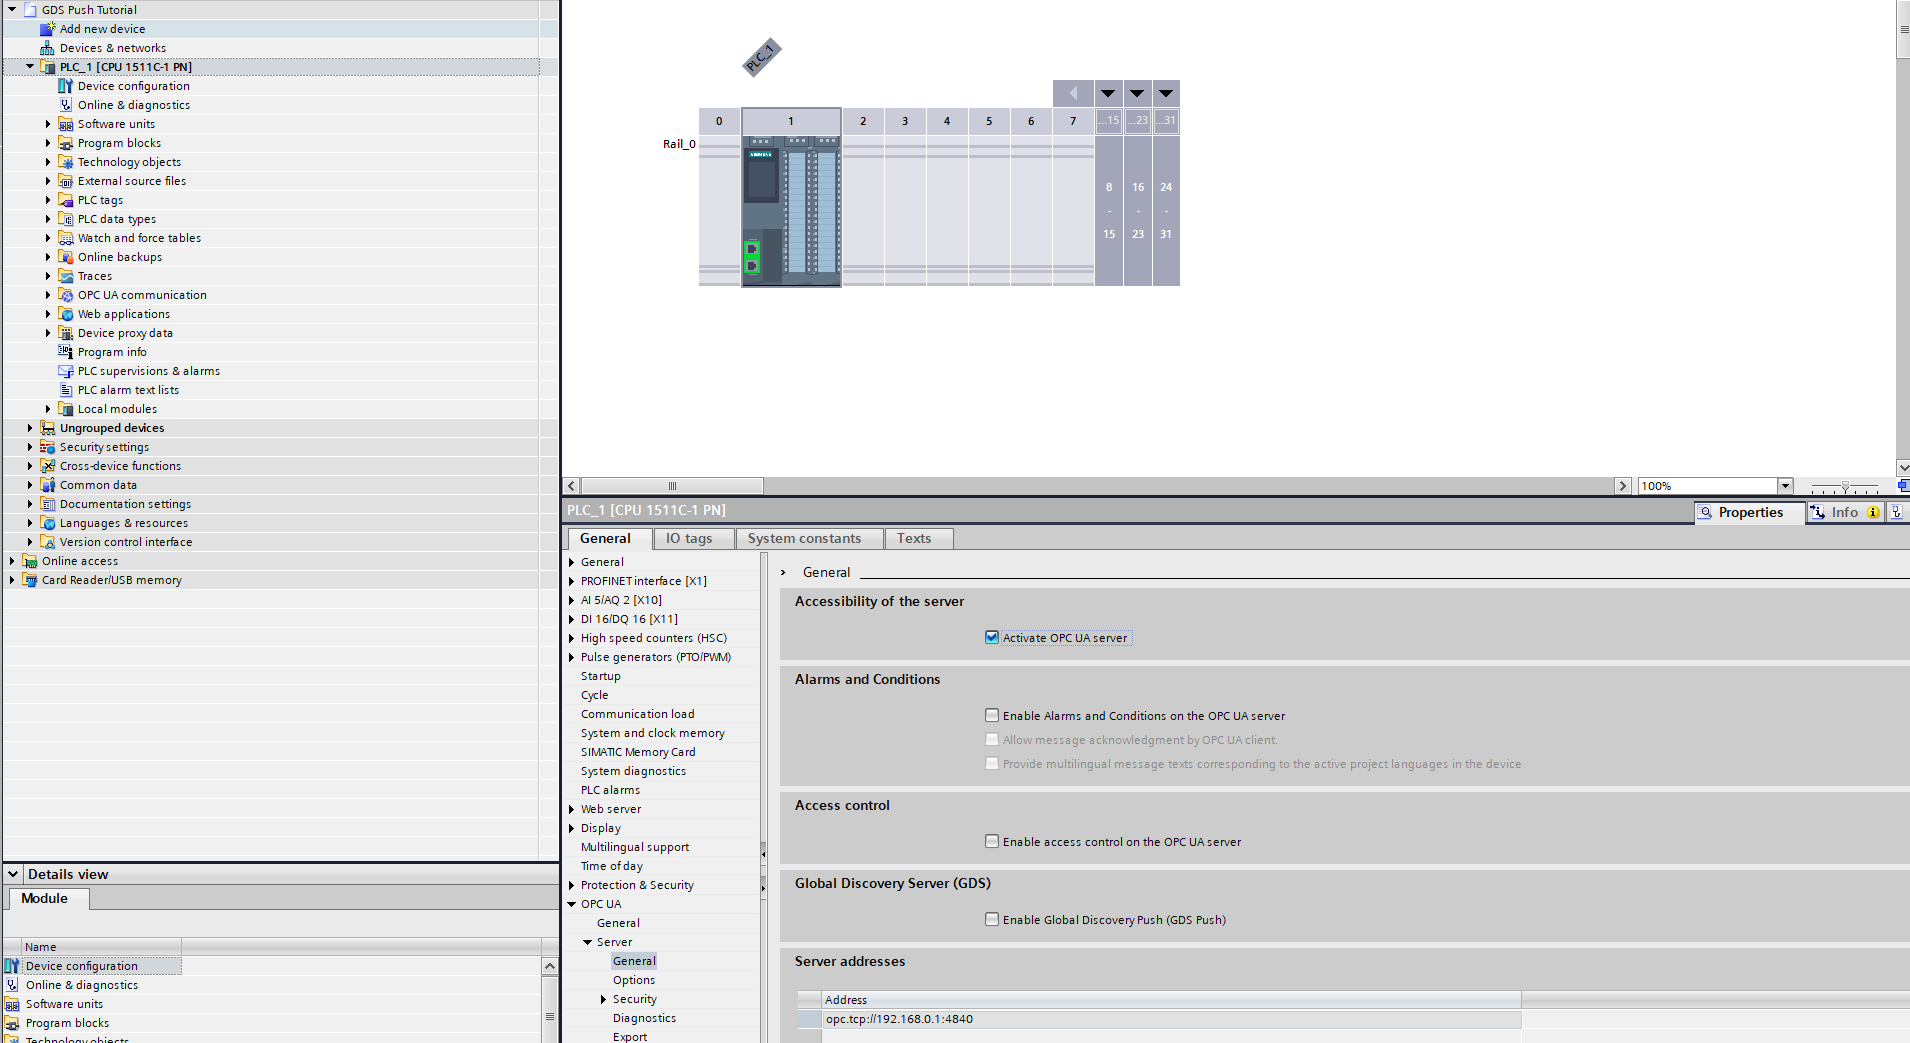
To enable communication via OPC UA, the OPC UA server must be activated on the S7-1500 CPU.
Step 1 – Open CPU Properties
In TIA Portal, open the Properties of the configured S7-1500 CPU.
Step 2 – Enable OPC UA Server
In the Inspector window, navigate to:
OPC UA → Server → General
Activate the checkbox: "Activate OPC UA server"
2. Enable Dynamic Certificate Management
To securely use GDS Push functionality, dynamic certificate management must be enabled and a dedicated user with appropriate permissions must be configured.
Create a dedicated user with restricted rights rather than using an existing admin account. This separates OPC UA GDS certificate management from other system functions.
2.1 Create a Dedicated Role
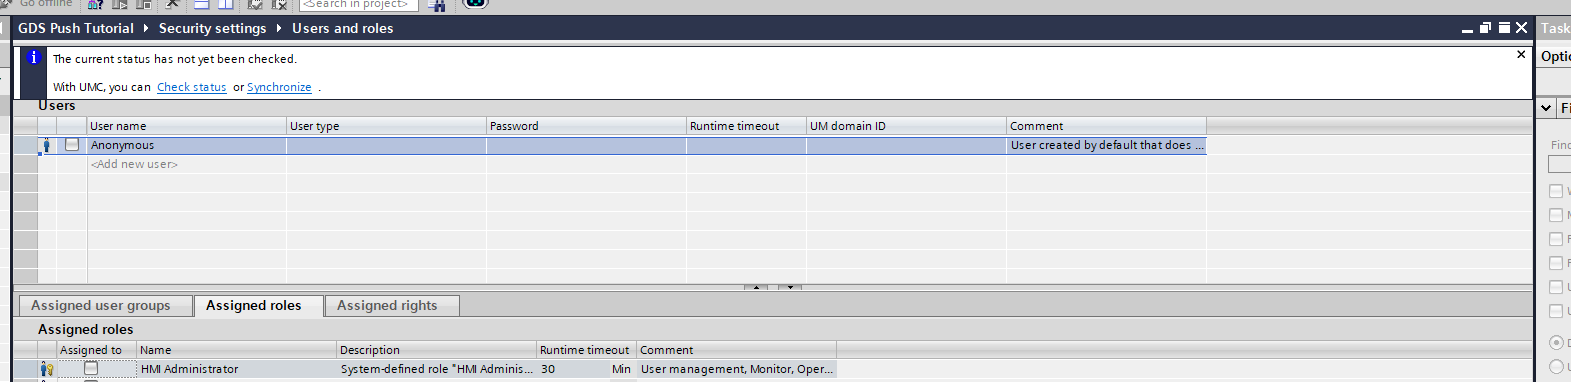
Step 1 – Open User Management
In the project tree, navigate to Security settings and double-click: "Users and roles"
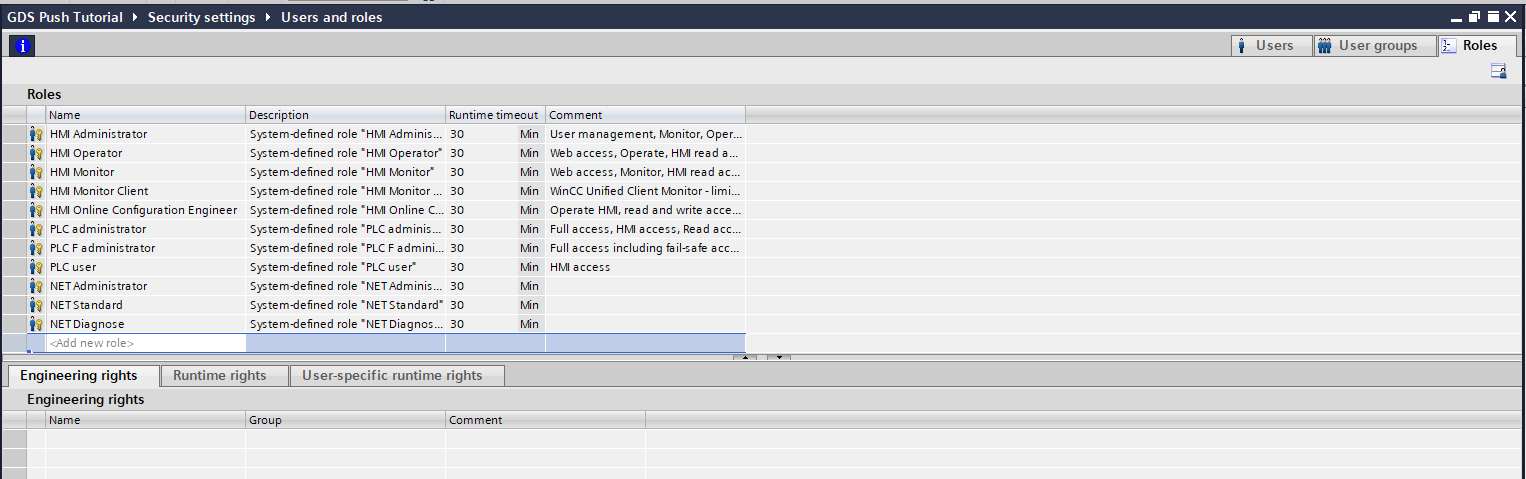
Step 2 – Create a New Role
- Open the Roles tab. (If the roles tab is not visible, close the information pop-up.)
- Click "Add new role".
- Enter a name for the role, e.g.:
RoleOpcUaCertificateMgmt
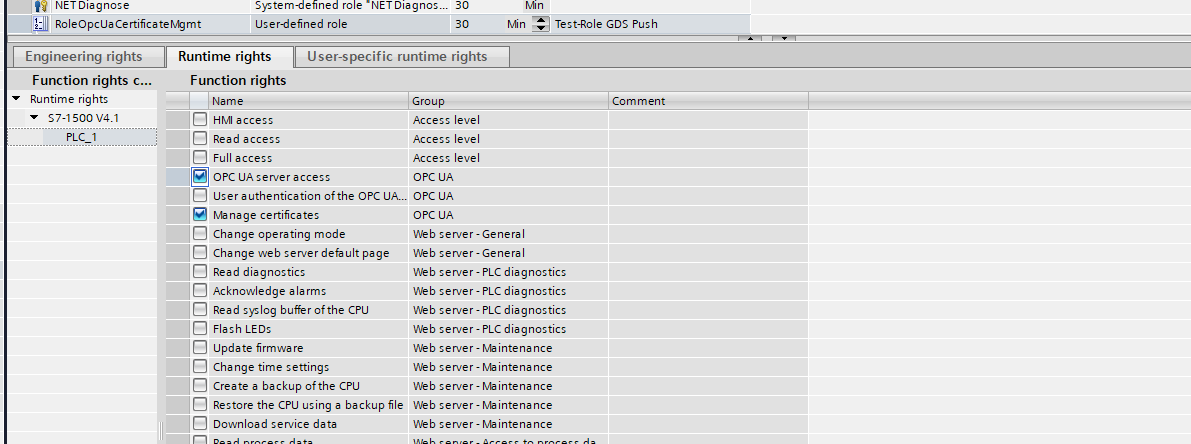
Step 3 – Assign Runtime Rights
- Select the newly created role.
- In the lower pane, open the "Runtime rights" tab.
- Assign the following rights:
- Manage certificates
- OPC UA server access
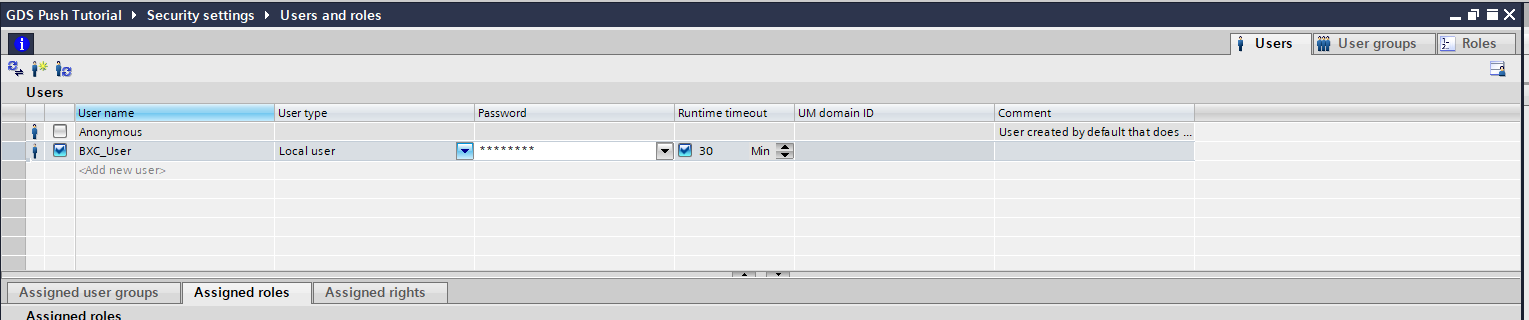
2.2 Create a Dedicated User
Step 4 – Create a New User
- Open the Users tab.
- Click "Add new user".
- Create a new local user.
Step 5 – Assign Role to User
- Select the newly created user.
- In the lower pane, open the "Assigned roles" tab.
- Assign the previously created role (
RoleOpcUaCertificateMgmt) to the user.
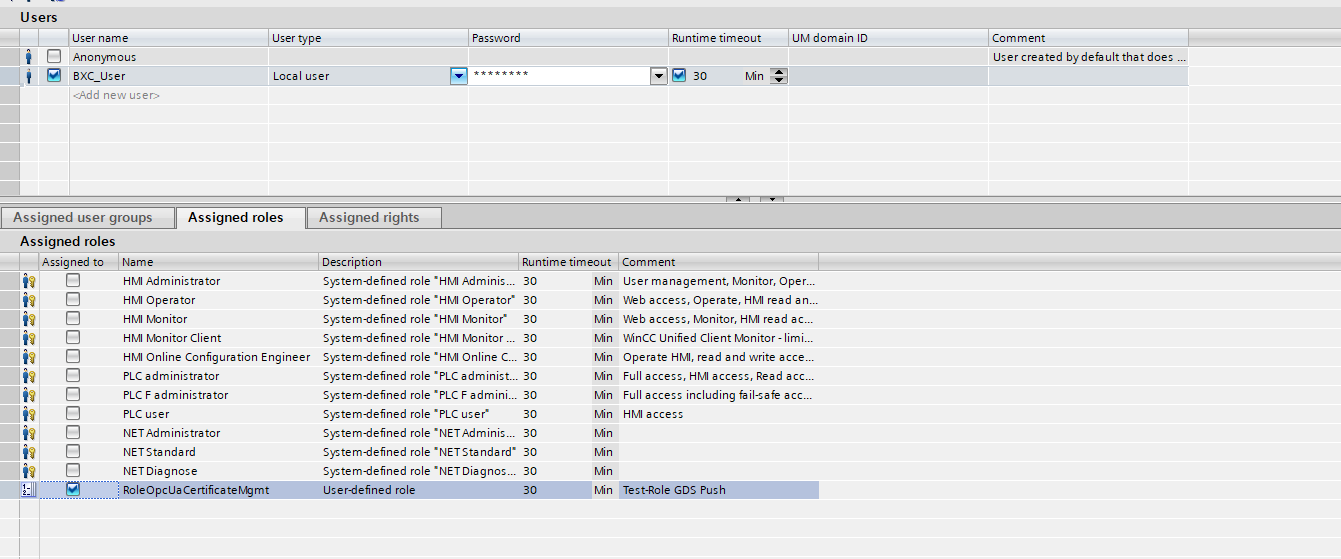
This user now has the required permissions to connect to the CPU and manage certificates.
2.3 Enable GDS Push
Step 6 – Enable GDS Push
Navigate to:
OPC UA → Server → General
Activate the option: "Enable Global Discovery Push (GDS Push)"

Step 7 – Enable Runtime Certificate Usage
Navigate to:
Protection & Security → Certificate manager
Activate the option: "Use certificates provided by certificate management during runtime"
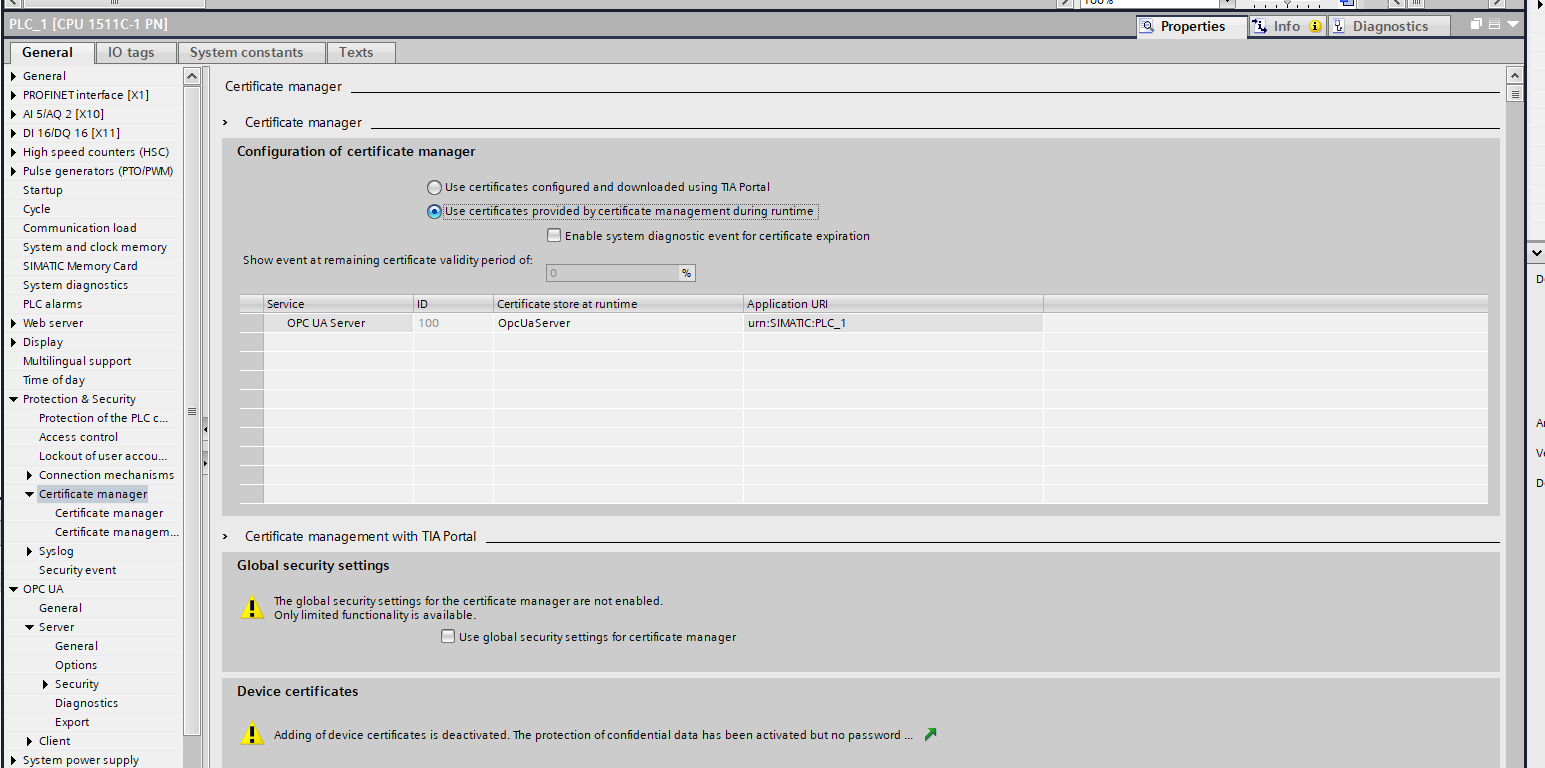
Dynamic certificate management (GDS Push) is now successfully enabled. The CPU will accept certificates distributed by a connected Global Discovery Server.
3. Save, Compile, and Download the Configuration
After completing the configuration, the project must be saved, compiled, and downloaded to the CPU.
Step 1 – Save the Project
Save the current TIA Portal project.
Step 2 – Compile the Configuration
- In the project tree, select the device folder of the CPU.
- Click the "Compile" button in the function bar.
The configuration is successfully completed once the project compiles without any errors.
Step 3 – Download to the CPU
- In the project tree, select the device folder of the CPU.
- Click the "Download to device" button in the function bar.
The download process will be initiated and executed.
4. Set the Time on the CPU
When working with certificates, it is essential that all devices in the system have correct and synchronized time settings. Certificate validity periods depend on accurate system time.
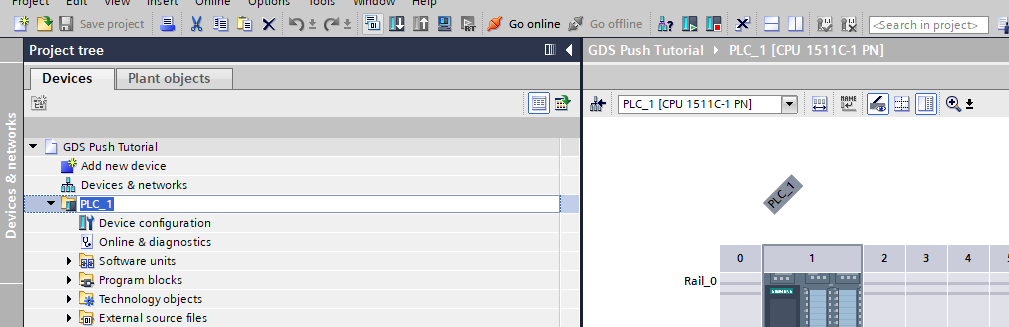
Step 1 – Open Online & Diagnostics
- In the project tree, double-click "Online & diagnostics" in the CPU device folder.
- The Online & diagnostics dialog will open.
Step 2 – Set the Time of Day
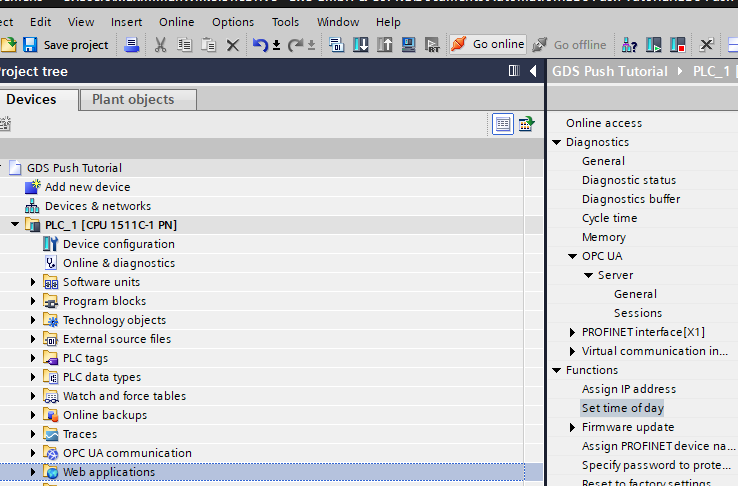
- Navigate to: Functions → Set time of day
- Activate the checkbox: "Take from PG/PC"
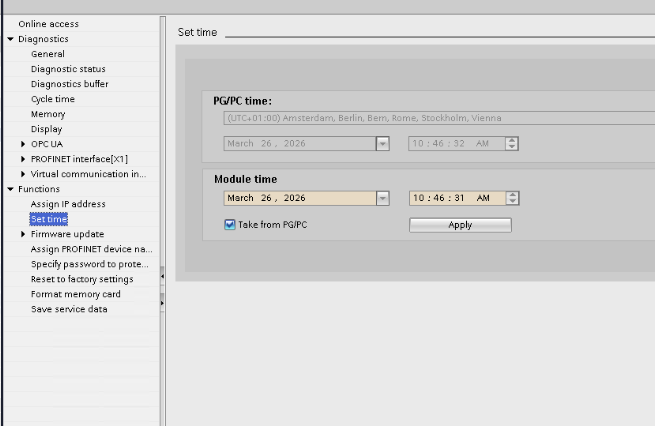
This sets the CPU time based on the engineering workstation clock.
Step 3 – Go Online with the CPU
- In the project tree, select the device folder of the CPU.
- Click the "Go online" button in the function bar.
5. Provisioning State
After downloading the configuration, the CPU enters the Provisioning State.
Expected behavior:
- The provisioning state is indicated by a message in the diagnostic buffer.
- The MAINT LED on the CPU lights up yellow.
This state indicates that the CPU is ready for certificate provisioning via GDS Push. IDIAL can now connect to the CPU as a GDS client and provision the required OPC UA certificates.
With the S7-1500 in provisioning state, proceed with the IDIAL deployment and point it to this PLC's OPC UA endpoint. IDIAL will use the GDS Push protocol to automatically push the required certificates.